Churchill & Blakedown Golf Club
Holes 10-18 Guide
Swipe left or right to view images.

Hole 10

12 Handicapper Perspective
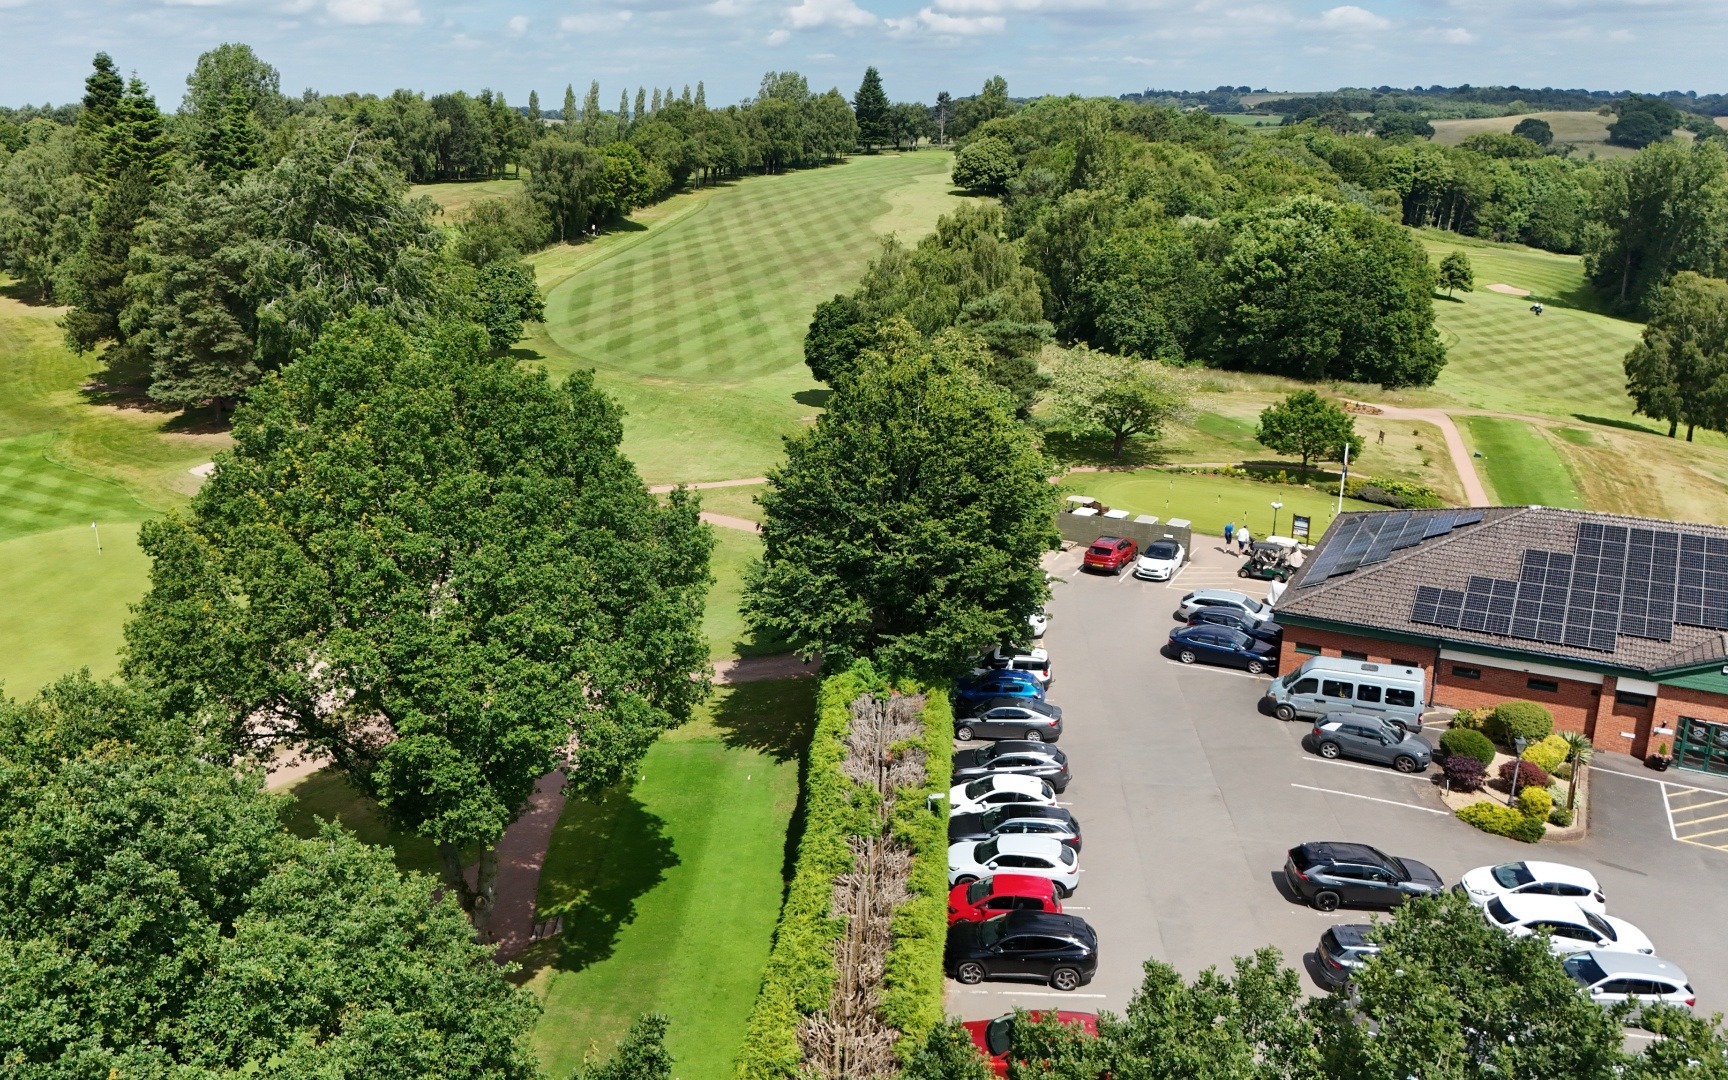
The tee shot, to a fairway which plays much narrower than it looks, ideally is one of about 200 yards with a gentle draw stopping short of the two fairway bunkers on the right. Anything to the right will run down the slope towards or onto the 3rd fairway - not impossible but not ideal. Anything left gets swallowed up by the trees. From ideal position on the fairway it is a wedge onto a pear-shaped green guarded by bunkers left and right.

Pro's Tip
Driveable for the longer hitters but fraught with danger making a more conservative approach preferable.

Swipe left or right to view images.

Hole 11

12 Handicapper Perspective
The tee is set at the top of steps from the 10th green. One of the standout views on the course but don’t get distracted by that. The hole plays shorter because of the elevation change but the green is large and undulating, split with a severe slope down its centre. Being on the right level is vital for the golfer looking for par or better.

Pro's Tip
Tough par 3 and being on the correct level of the green is essential.

Swipe left or right to view images.

Hole 12

12 Handicapper Perspective
The ideal drive is a draw to find the left half of the fairway leaving a mid to short iron into the green. Anything to the right and towards the first fairway means a second shot of perhaps 160 yards over towering Silver Birch to the green. The putting surface is two tiered - a single flag indicates the pin is on the lower level, a double flag that it is on the back shelf. It is important that the approach finishes on the correct tier.

Pro's Tip
Should be played as a par 5 by the mid to high handicapper.

Swipe left or right to view images.

Hole 13

12 Handicapper Perspective
An accurate wedge or nine iron is called for here, although the bank to the right sometimes turns an average shot into a good one, it can equally turn an average shot into a bad one which scurries across the green into deep bunkers on the left. Anything short will spin and roll back off the front. Be past the flag and look out for a lightening putt down the green. A real birdie chance, but beware.

Pro's Tip
Be below the flag especially in the Summer.

Swipe left or right to view images.

Hole 14

12 Handicapper Perspective
The tee shot is vital here to setting up a realistic birdie chance. Drive it long and straight to the top of the ridge or further to leave an eight iron or less into a green with bunkers left and right. Miss the drive a little short, left or – worse – right and making a four becomes hard work. If you need to chip, remember the green slopes from back to front and mostly left to right.

Pro's Tip
Slightly dog leg from left to right so do not take too much of the corner on. A drive finishing centre to left half of the fairway is best.

Swipe left or right to view images.

Hole 15

12 Handicapper Perspective
Perhaps of all the holes on the course, this puts a premium in being in the right place off the tee. The ideal drive is a draw aimed at the trees on the right in the far distance which shapes back to the middle of the fairway. A straight shot runs the risk of going into the trees on the right while a fade could even go out of bounds and too much draw will find further tree trouble. From the ideal tee shot, a mid iron at least is still needed to reach a green sloping from to back to front with bunkers either side. A par is a great result.

Pro's Tip
Tee shot is vital.

Swipe left or right to view images.

Hole 16

12 Handicapper Perspective
Coming late in the round, the 16th has sounded the death knell for many a promising card. The first par five on the back nine demands full concentration and a long drive favouring the left side of the fairway avoiding the two fairway bunkers. The second is a real risk and reward decision – the further right, the longer the carry over trees on the corner of the dogleg, the further left, the longer the third shot into the green. Shots landing short of the green can kick left and run through, shots right invariably find the lengthy bunker. Not often that bogey is a great result, but take one here and move on.

Pro's Tip
Position of second shot is vital to ensure a good approach to a green that slopes away.

Swipe left or right to view images.

Hole 17

12 Handicapper Perspective
The third in a trilogy of tough closing holes, the 17th demands an accurate tee shot, particularly with the tee at the back of the tee box. The ideal line is between the marker post and the trees on the left, the safer line is just to the right of the post but this leaves a much longer approach to a slightly raised green with run offs on all sides. Miss right and face a difficult shot up the slope, particularly if the pin is right. Miss long or short left and find sand. Par is very acceptable here.

Pro's Tip
As the green is difficult to find a great short game is needed.

Swipe left or right to view images.

Hole 18

12 Handicapper Perspective
A great matchplay hole offering real risk and reward. Out of bounds run the entire length of the hole to the right so the tee shot needs to be aimed to the left of the single birch on the centre of the fairway but not so wide that the trees to the left come into play. Drive to the top of the hill or just past then decide on going for it with a fairway wood or hybrid to attack the green (the fairway narrows the nearer the green it gets) or a short iron to leave a simple pitch to a green sloping front to back and left to right.

Pro's Tip
Keep it straight for a birdie or par.