Churchill & Blakedown Golf Club
Holes 1 - 9 Guide
Swipe left or right to view images.

Hole 1

12 Handicapper Perspective
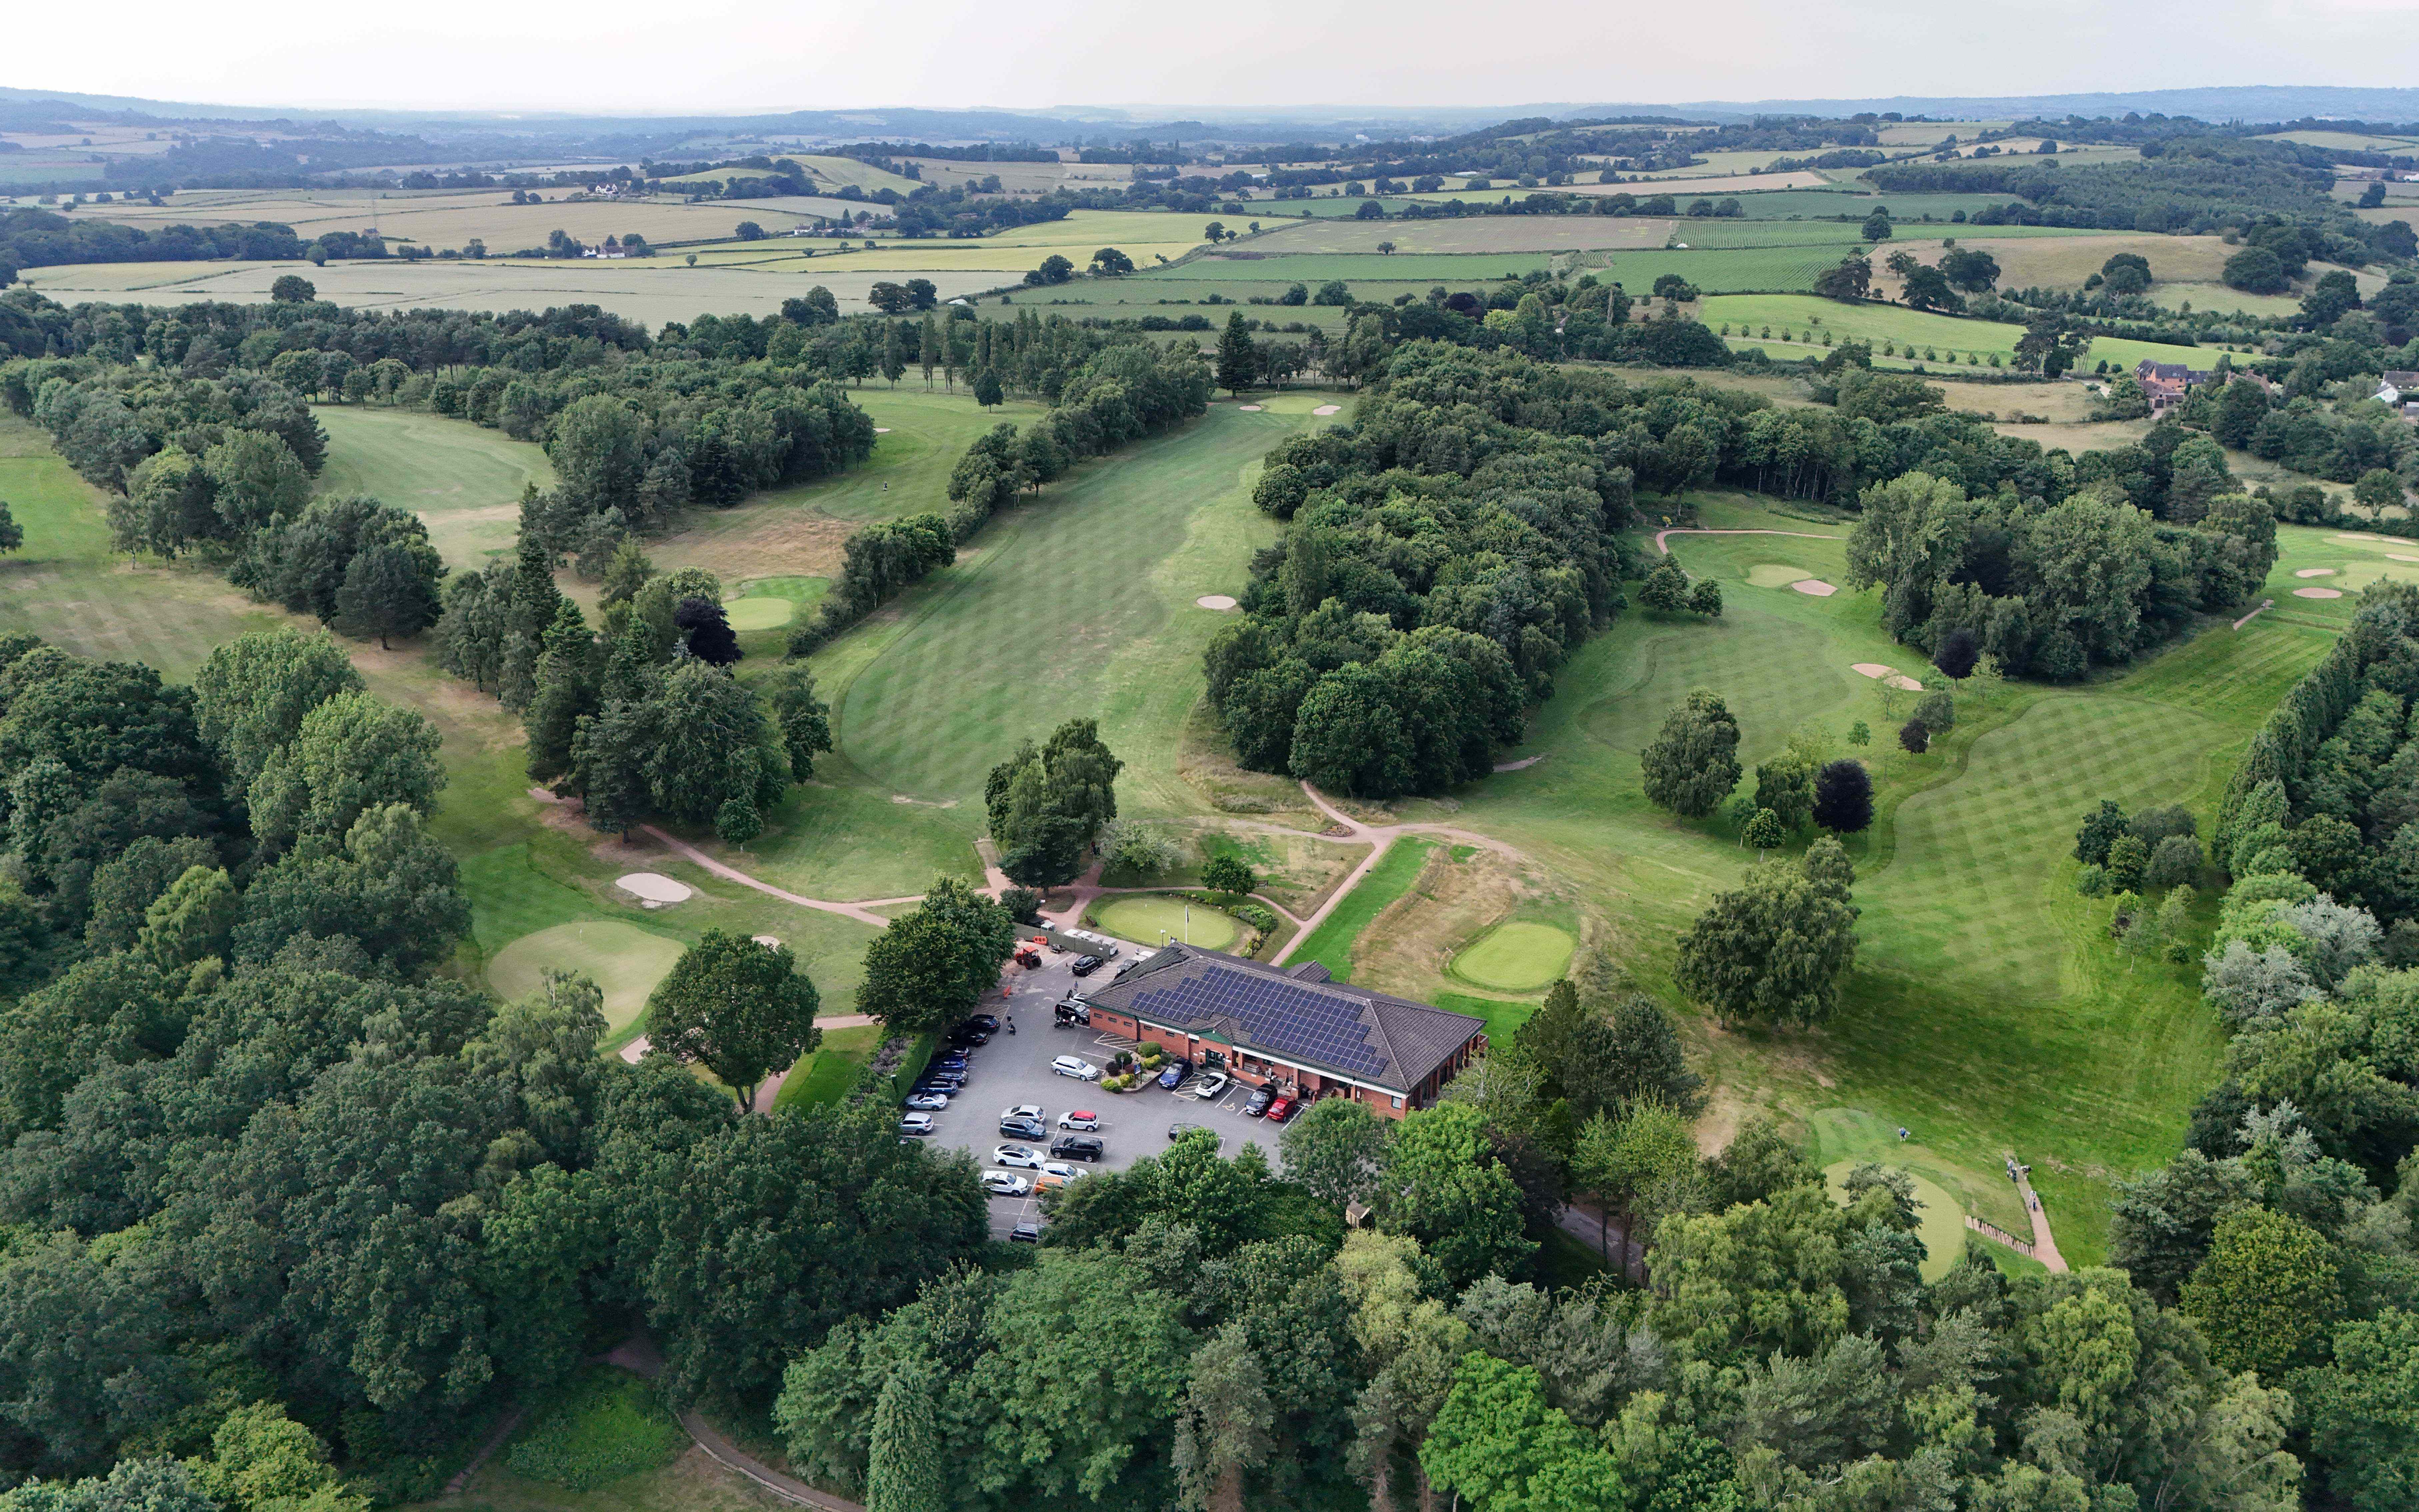
The opening tee shot is to a fairway which plays much narrower than it looks. The ideal shot is one of about 200 yards with a gentle draw started over the big Silver Birch and stopping short of the two fairway bunkers on the right. Anything to the right will run down the slope towards or onto the 3rd fairway - not impossible but not ideal.

Anything left gets swallowed up by the trees. From ideal position on the fairway it is a wedge onto a pear-shaped green guarded by a grass bunker on left and a deep bunker on the right. While birdie is always on the cards, so is bogey. Take a four and move on.

Pro's Tip
With your drive favour finishing on the right side of the fairway short of the two fairway bunkers.

Swipe left or right to view images.

Hole 2

12 Handicapper Perspective
The second is an extremely challenging hole coming so soon in the round. Depending on the wind it can be anything from six iron to driver. The ideal shot is straight or with a slight fade starting on the left hand edge of the house visible behind the green. Better a little short than long here as Out of Bounds and the road waits for anything too big. The green itself, sloping from front to back and from right to left, has bunkers on both sides and calls for accurate chipping and careful putting.


Pro's Tip
Tough par 3 needs to be approached with caution making club selection vital.

Swipe left or right to view images.

Hole 3

12 Handicapper Perspective
A feature of the third is a lack of bunkers but don't let that induce false security. The ideal drive will find the left half of the fairway leaving a mid to short iron into the green. Anything to the right and towards the first fairway means a second shot of perhaps 160 yards over towering Silver Birch to the green. The putting surface is two tiered - a single flag indicates the pin is on the lower level, a double flag that it is on the back shelf. It is important that the approach finishes on the correct tier. With the ball down and the flag up, a tricky two putt is guaranteed. With the ball long and the pin short, a fast putt down the slope awaits.

Pro's Tip
For the mid to high handicapper this should be played as a par 5.

Swipe left or right to view images.

Hole 4

12 Handicapper Perspective
Don't let this seemingly innocuous hole fool you - it has wrecked many a good card. Even into the wind it is never more than a short iron but one that has to be accurate. Anything short will spin and roll back off the front. Be past the flag and look out for a lightening putt down the green. Miss left and two deep bunkers are waiting six or seven feet below the height of the green. Every chance of a birdie, every chance of a disaster.

Pro's Tip
Toughest green on the course, do not attack the pin and finish below the hole.

Swipe left or right to view images.

Hole 5

12 Handicapper Perspective
This is stroke index one for a good reason. Long enough as it is, the hole plays gently uphill for almost its entire length. The drive needs to be straight or left of centre. Anything to the right will roll across into the fairway bunker if you are lucky, into penal rough if you are not. After a good drive, all but the longest hitters still face a second of 200 yards or so up to the green which has two bunkers to the right and one to the left. The green slopes from back to front. A par four here is gold dust.

Pro's Tip
A great par 4, for most a good short game is required to make par.

Swipe left or right to view images.

Hole 6

12 Handicapper Perspective
Gentle dogleg from left to right off the tee calls for a fade to avoid running out of fairway on the left and finding the trees. A solid drive in the fairway will leave a mid to short iron over the cross bunker and into a green which slopes from back to front and which is guarded by bunkers left and right.

Pro's Tip
Superb looking par 4. Second shot always longer than it looks.

Swipe left or right to view images.

Hole 7

12 Handicapper Perspective
The first par five on the outward nine demands a long drive favouring the left side of the fairway but one which avoids the two fairway bunkers. The second is a real risk and reward decision – the further right, the longer the carry over trees on the corner of the dogleg, the further left, the longer the third shot into the green. Shots to the green landing short can kick left and run through, shots right invariably find the lengthy bunker. Look to play this hole conservatively and take a five – worth a birdie against the field.

Pro's Tip
Important for the second shot to be in position for the approach shot to the green, alignment is critical to a green that slopes away.

Swipe left or right to view images.

Hole 8

12 Handicapper Perspective
This tricky par four running right to left demands an accurate tee shot. The tiger line is between the marker post and the trees on the left, the safer line is just to the right of the post but this leaves a much longer approach to a slightly raised green with run offs on all sides. Miss right and face a difficult shot up the slope, particularly if the pin is right. Miss long or short left and find sand. Par is very acceptable here.

Pro's Tip
Very difficult green to find with your second shot thus often a good short game is essential.

Swipe left or right to view images.

Hole 9

12 Handicapper Perspective
A hole which offers a real birdie, even the occasional eagle, chance but one which has to be treated with respect. Out of bounds run the entire length of the hole to the right so the tee shot needs to be aimed to the left of the single birch on the centre of the fairway but not so wide that the trees to the left come into play. Drive to the top of the hill or just past then decide on a fairway wood or hybrid to attack the green or a short iron to leave a simple pitch to a green sloping front to back and left to right. Left finds a tricky bunker and long sees a bunker as wide as the green.

Pro's Tip
Birdie very much on the cards.